BomLens
BomLens
BomLens is an open source tool that lets suppliers generate deliverables that meet SK Telecom policy in a Docker environment. You do not need to install per-language tools locally; it analyzes multiple languages and produces a CycloneDX (JSON) deliverable.
This page covers only the quick start. For installation, the full set of options, language-specific guides, input scenarios, the web UI, and other details, see the official repository documentation.
Bug reports, feature suggestions, and Pull Request contributions are welcome.
Deliverables Generated
A single run generates the following four deliverables together in a {project}_{version}/ subfolder (the --all option). The open-source risk analysis report can be turned off with --no-report; the conformance report is always generated (there is currently no option to turn it off).
| Deliverable | File | Purpose |
|---|---|---|
| SBOM | {project}_{version}_bom.json | CycloneDX 1.6 component specification (the delivery baseline) |
| Open Source Notice | {project}_{version}_NOTICE.{txt,html} | Notice document for fulfilling license obligations |
| Open Source Risk Analysis Report | {project}_{version}_risk-report.{md,html} | Aggregation of license and vulnerability risks |
| Conformance Report | {project}_{version}_conformance.{json,md,html} | Whether the submission quality criteria are met, and what is missing |
The conformance report file is produced on every run, but the web UI’s pass/fail screen only appears when an already-generated SBOM is fed back in with --analyze (a freshly generated SBOM grading itself is not a meaningful signal for most checks). Add this extra step to self-check before submission.
./scripts/scan-sbom.sh --analyze myserver_1.0.0_bom.json --project myserver --version 1.0.0 --generate-only
Prerequisites
BomLens runs on Docker. Install and run Docker Engine 20.10 or later. On Windows without Docker, we recommend Rancher Desktop, which is free. The first run downloads a scanner image (about 250 MB), usually taking a minute or two (varies by network speed).
Getting Started Without the Command Line
If you are not comfortable with the command line, you can generate an SBOM with the installer app or the web UI. For the full procedure, see the no command line quick start.
- Installer app: from the latest release, download
BomLens-Setup.exeon Windows orBomLens-Setup.dmgon macOS and install it. The Windows executable is not yet code-signed, so if SmartScreen warns, click “More info” and then “Run anyway”. - Repository ZIP (Windows): from the repository’s
Codebutton, chooseDownload ZIP, unzip it, and double-clickscripts\sbom-ui.bat; the browser openshttp://localhost:8080.
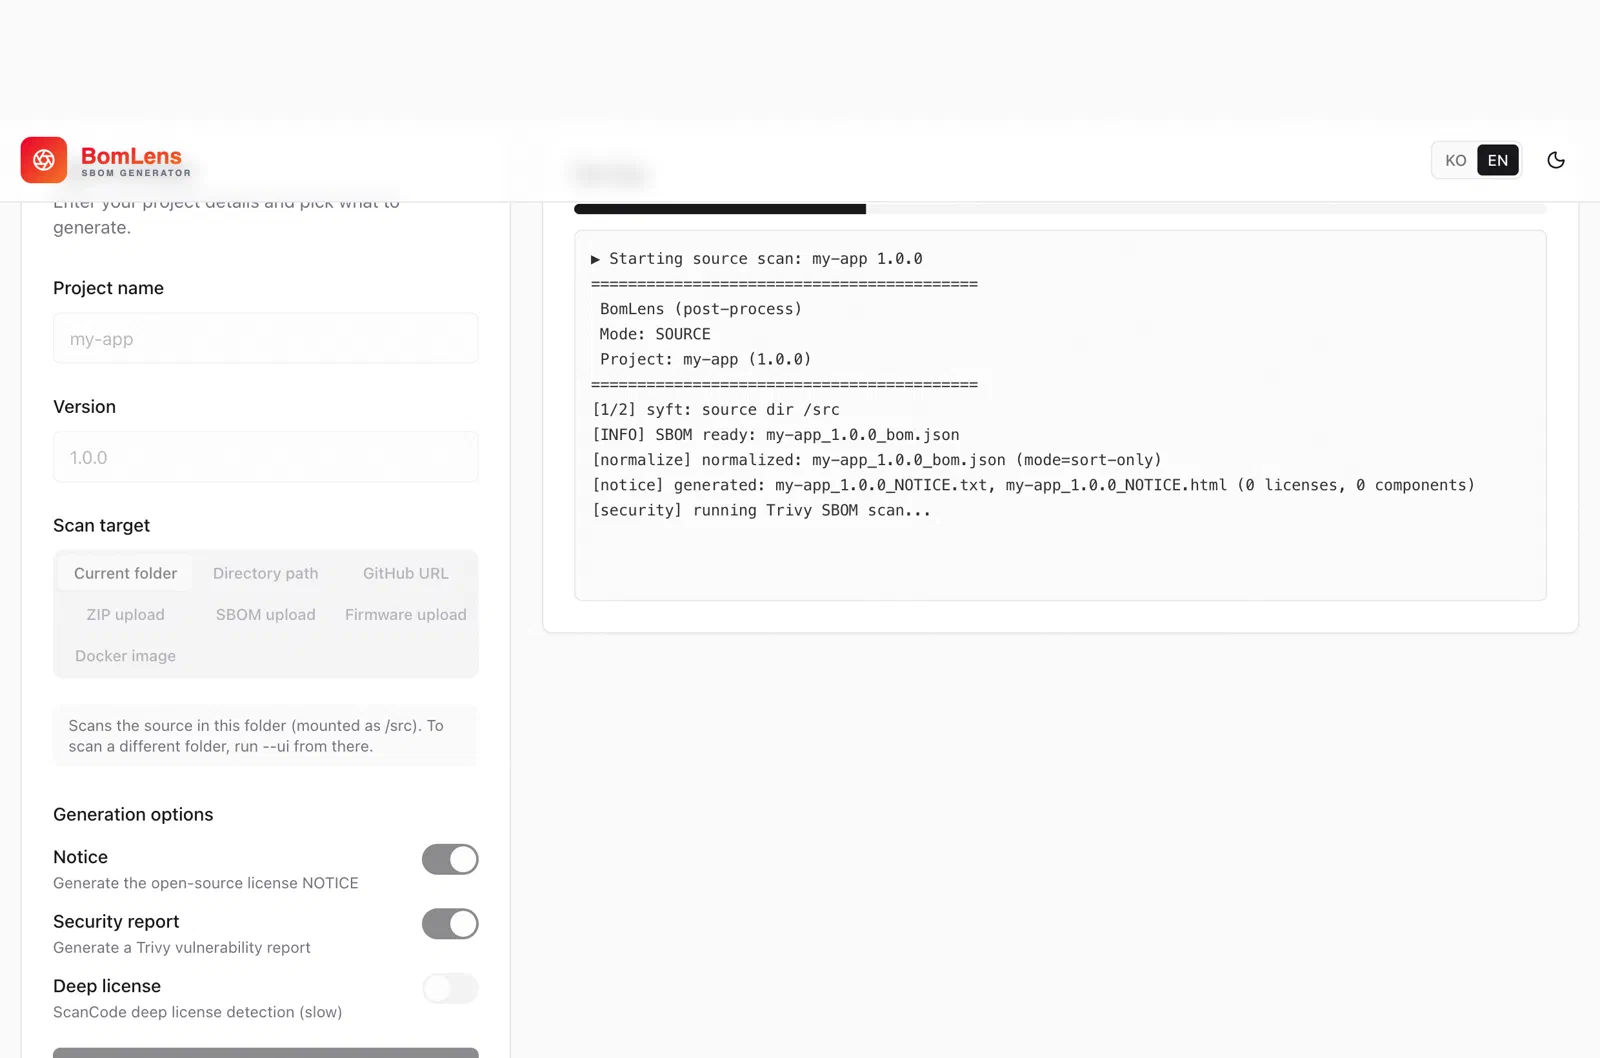
In the web UI, the progress log is shown in real time on the right, and you can download the deliverables when it finishes.
Quick Start (CLI)
On macOS and Linux, download and run the latest release’s bomlens-cli-linux.tar.gz (bomlens-cli-windows.zip on Windows). Downloading only the scan-sbom.sh file will not run on its own; it uses other files from the same archive.
tar -xzf bomlens-cli-linux.tar.gz
cd /path/to/my-project
/path/to/scripts/scan-sbom.sh --project "MyApp" --version "1.0.0" --all --generate-only
--generate-onlycreates files only locally, without submitting them (recommended until submission).- For the web UI, run
./scripts/scan-sbom.sh --ui(the browser openshttp://localhost:8080). - On Windows, run the same commands through
scripts\scan-sbom.bat(it forwards them via Git Bash, so Git for Windows is required). - For other input forms such as a GitHub URL, source ZIP, Docker image, firmware, or binary, and the full set of options, see the CLI reference.
Learn More
The authoritative source for using the tool is the repository documentation.
| Topic | Document |
|---|---|
| Installation, first SBOM, web UI | Getting started |
| Full options, by language, CI/CD | CLI reference |
| Scenarios by input form | Input scenarios |
| Notice & security reports | Reports guide |
| Server (OS + application) delivery | Server delivery guide |
Next Steps
After generating the SBOM, verify the file with the Validation Checklist and submit it following the Submission Process. For the required data fields, see the Submission Requirements; to use tools such as cdxgen or Syft directly instead of the SKT tool, see Using Open Source Tools.
Feedback
Was this page helpful?
Glad to hear it! Please tell us how we can improve.
Sorry to hear that. Please tell us how we can improve.